
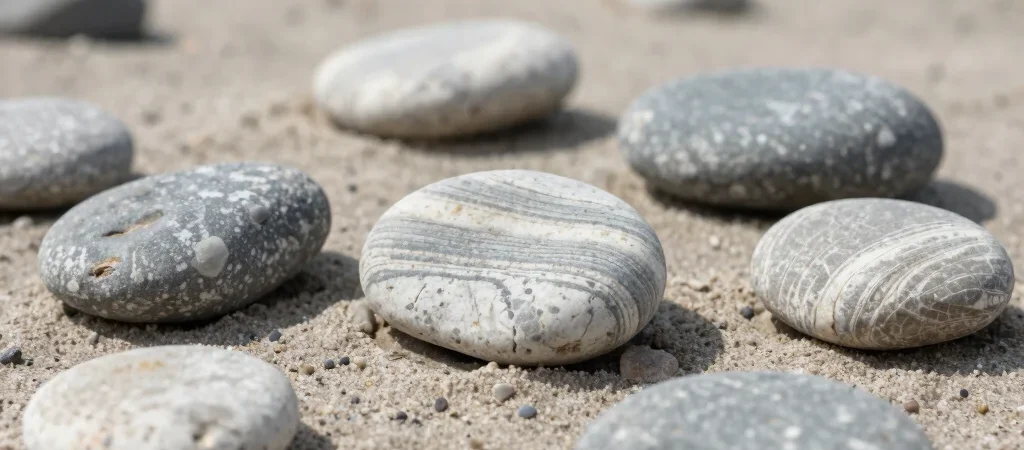
On a walk beside a river in France, a pebble may catch your eye because it is unusually smooth, striped, or pale. Those visible details are a good reason to look closer, but they do not provide a complete identification by themselves. Geology begins with description and comparison, then asks what evidence would support a stronger explanation.
Describe before identifying
For learners aged about ten and up, choose a few loose pebbles from a place where collecting is allowed; taking photographs instead is a good option in protected areas. You will need a notebook and pencil, with a hand lens as an optional tool. Record colour, visible grains, layers, and surface texture without scraping or breaking the stones.
Compare patterns and textures
Place the observations side by side: one pebble may show visible grains, another may have bands, and a third may look uniform at this scale. Sketching can make differences easier to notice, especially when learners mark where a pattern appears rather than relying on colour alone. Do not taste rocks or handle unknown powders, and wash hands after fieldwork.
Ask what the evidence supports
A rounded shape may be consistent with wear during transport, but it does not reveal exactly how far a pebble travelled or where it began. Similarly, colour alone is not a reliable way to name a mineral. A useful next question is what additional evidence—such as the local geology or a closer examination—would help distinguish possible explanations.
Keep the record honest
Label sketches with what was directly observed and keep interpretations in a separate note. That small habit helps students see the difference between evidence and explanation, a distinction that matters well beyond geology. The best field note may end with an open question rather than a rock name.